
The dryer's idler pulley provides tension to the dryer's drum belt so the belt won't slip when the drum is turning. It can become faulty over time due to increased friction. If your dryer is making a squeaking or squealing nose then the idler is probably faulty. Replacing this pulley is a simple project. Repair your noisy dryer with this step-by-step tutorial!
Tools Needed:
- A putty knife
- A Phillips head screw driver
- A 5/16 nut driver
Important Safety Tip:
Unplug the dryer and completely disconnect it from any power source to ensure your safety and prevent electrocution.
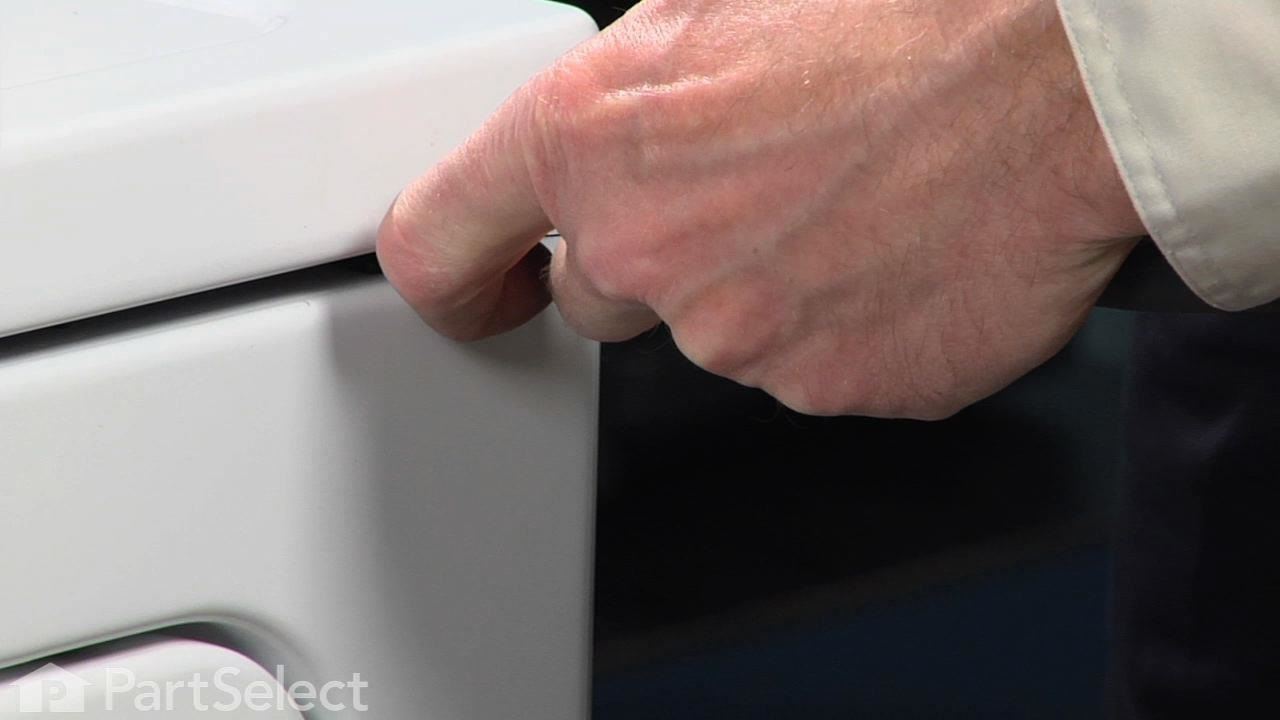
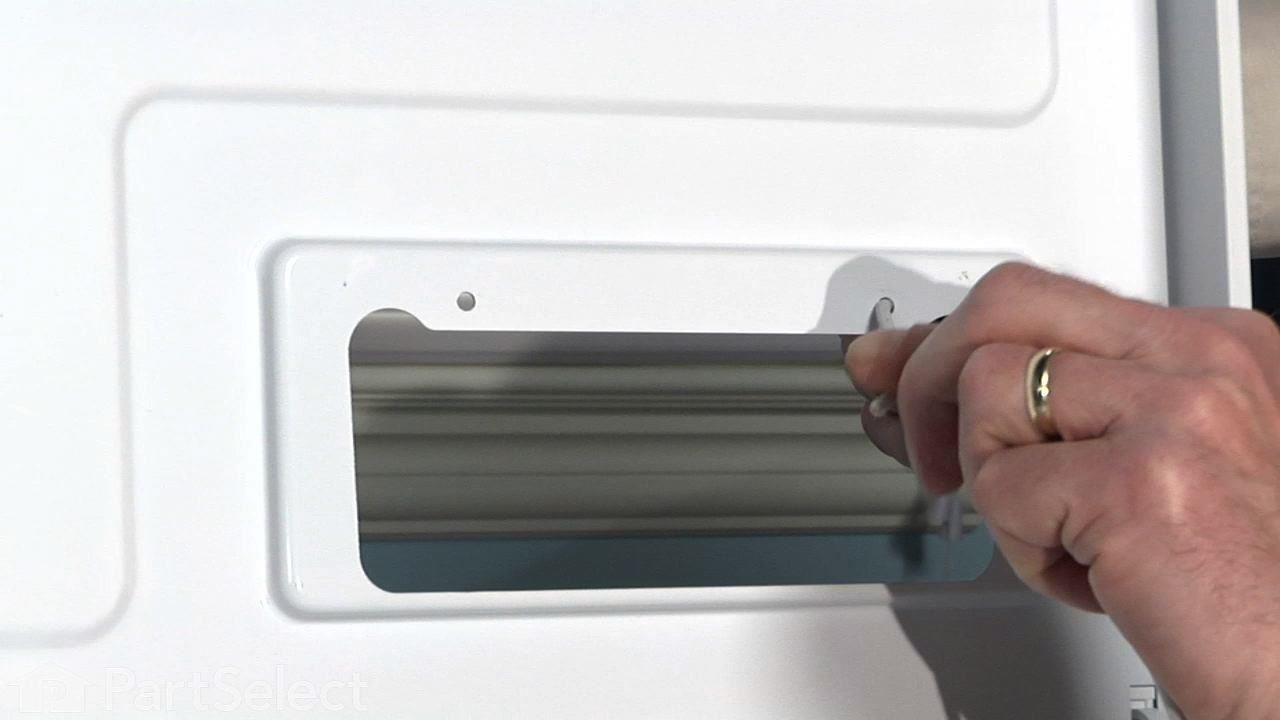
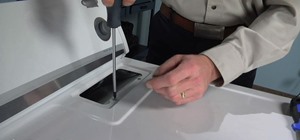
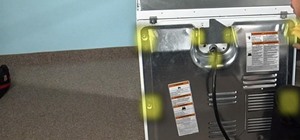
Step 1: Access the Dryer Top Cabinet
Remove the lint screen by pulling it out of the top of the unit. Beneath the screen are two Phillips screws that must be removed. After removing the screws, find the two clips that hold down the top cover, about an inch in from the left and from the right. Depress the clips using the putty knife; it may also be necessary to pull the top of the cover forward.
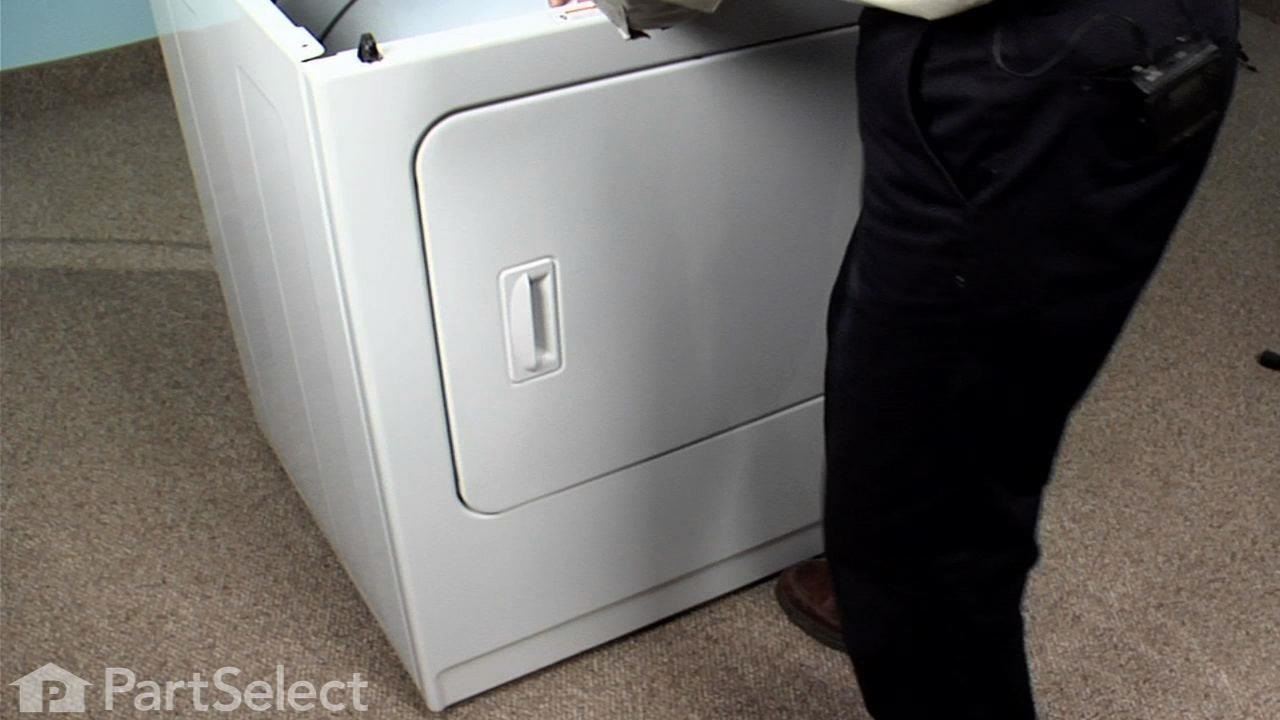
Step 2: Secure the Dryer's Cabinet
If there is a wall handy, lean the top against it. Otherwise, fasten a cord through one of the two screw holes, tie it to a point on the cabinet and use this to suspend the top cover in an upright position.
.
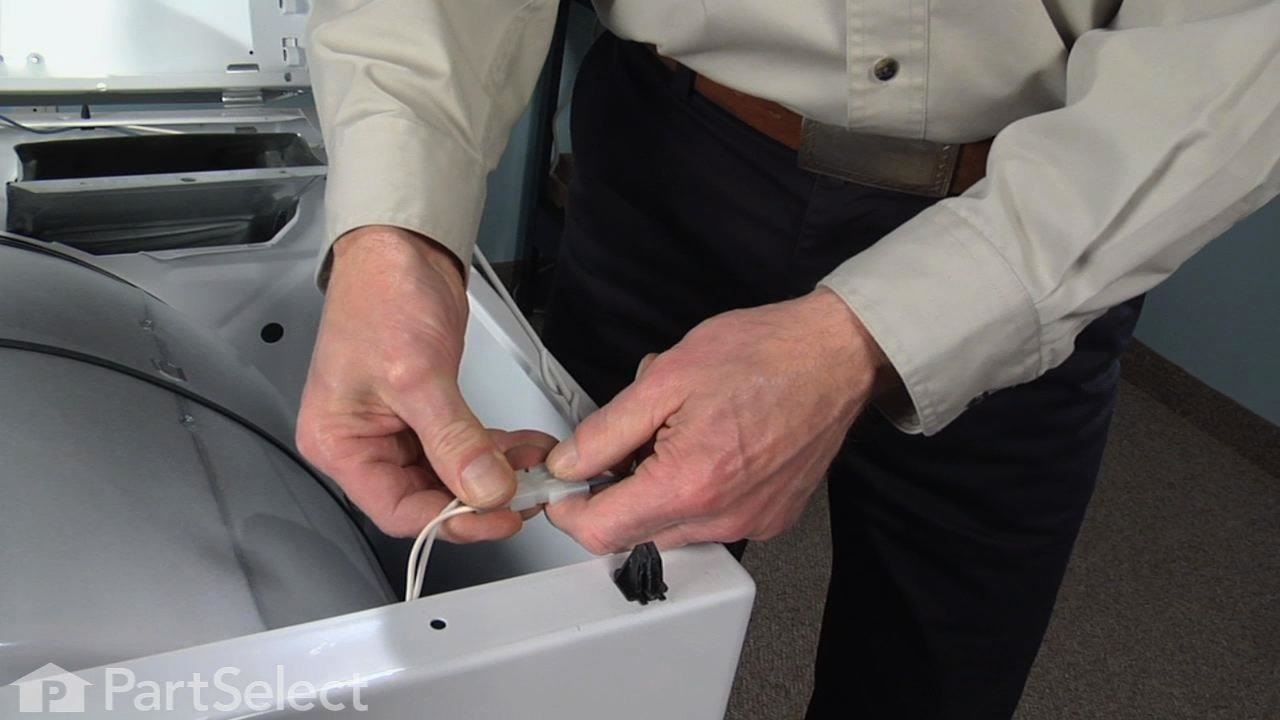
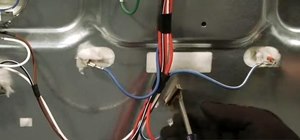
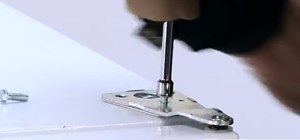
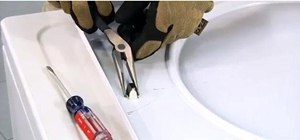
Step 3: Disconnect Dryer's Wire Harness
Now that the top is secured, the next step is to disconnect the wire harness from the switch. First, separate the connector. Next, remove the two 5/16th screws from the front panel, being careful not to drop them down into the inside of the unit. Support the front panel while removing the last screw, and then remove the panel and place it out of the way.
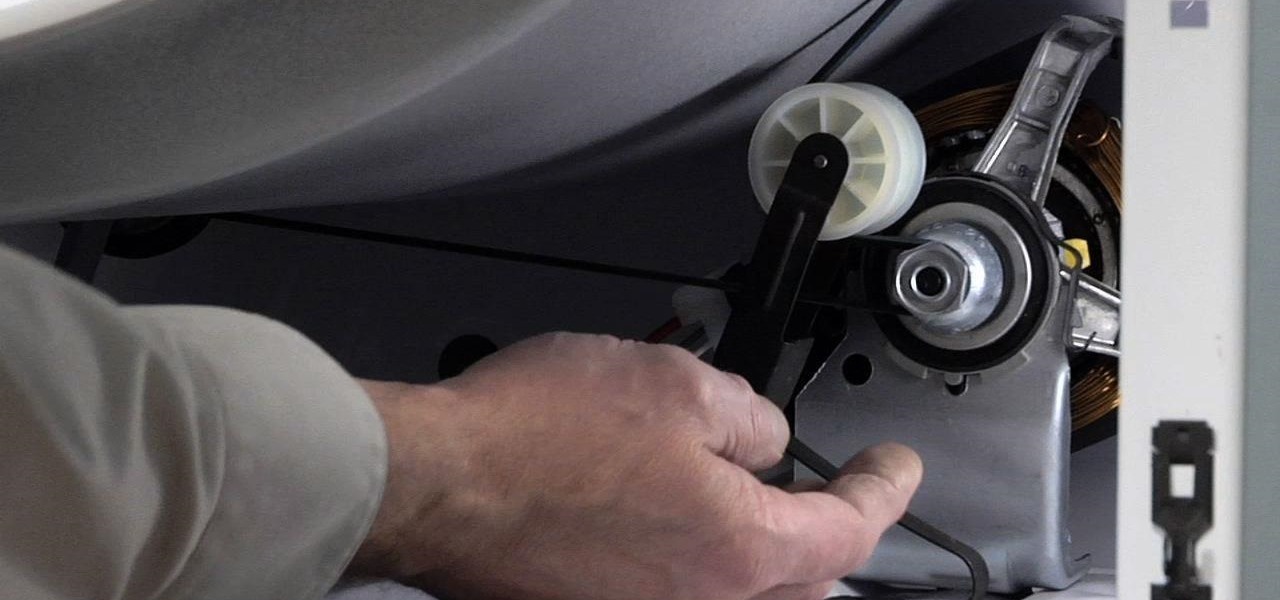
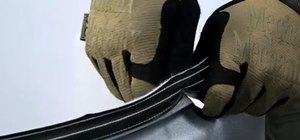
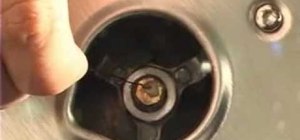
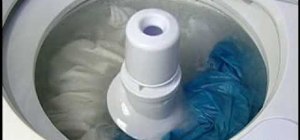
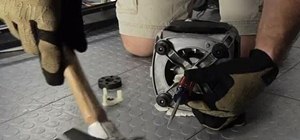
Step 4: Roll the Belt Off the Exisiting Pulley
While supporting the drum with one hand, reach in on the right hand side and examine the drum. Notice that the belts comes from around the drum, goes around the motor pulley, travels back underneath the idler pulley and then back on to the drum.
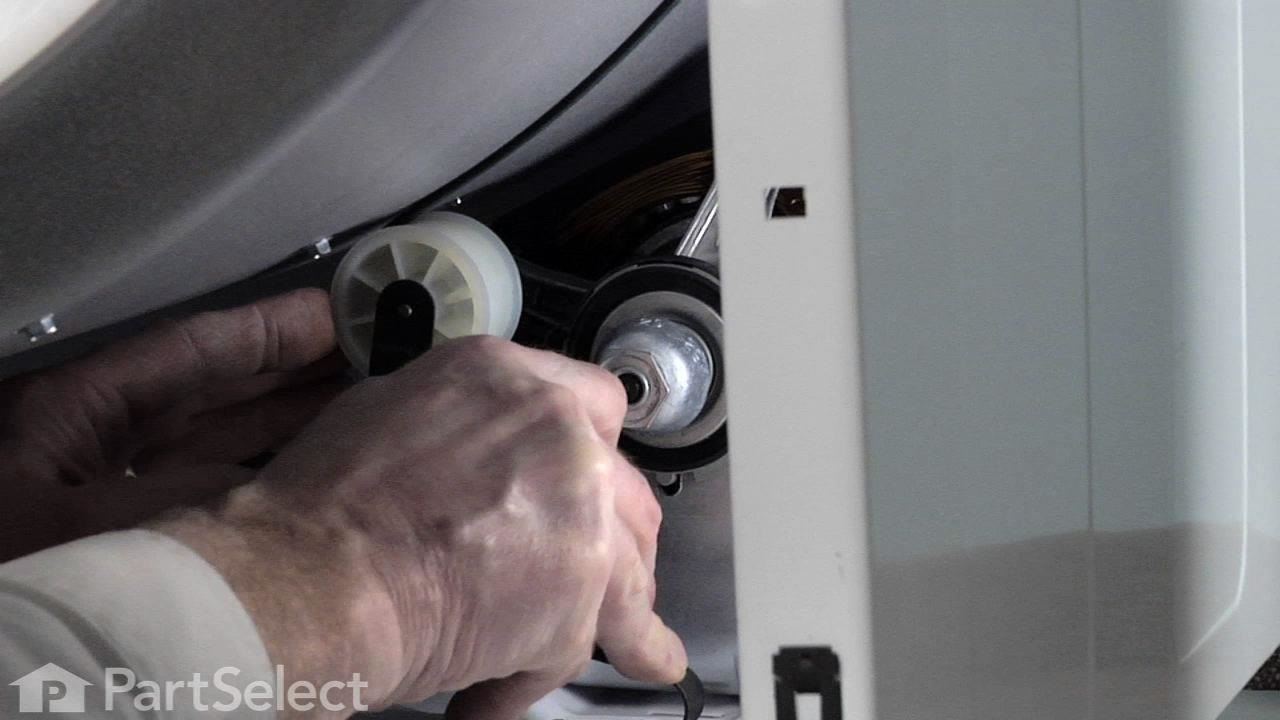
Tip: Take note of how the belt is oriented on the two pulleys, because it will be necessary to put it back in the same way when reassembling the unit.
Now, roll the belt off the motor pulley. To reassemble, make sure that the belt is roughly in the position of the motor pulley.
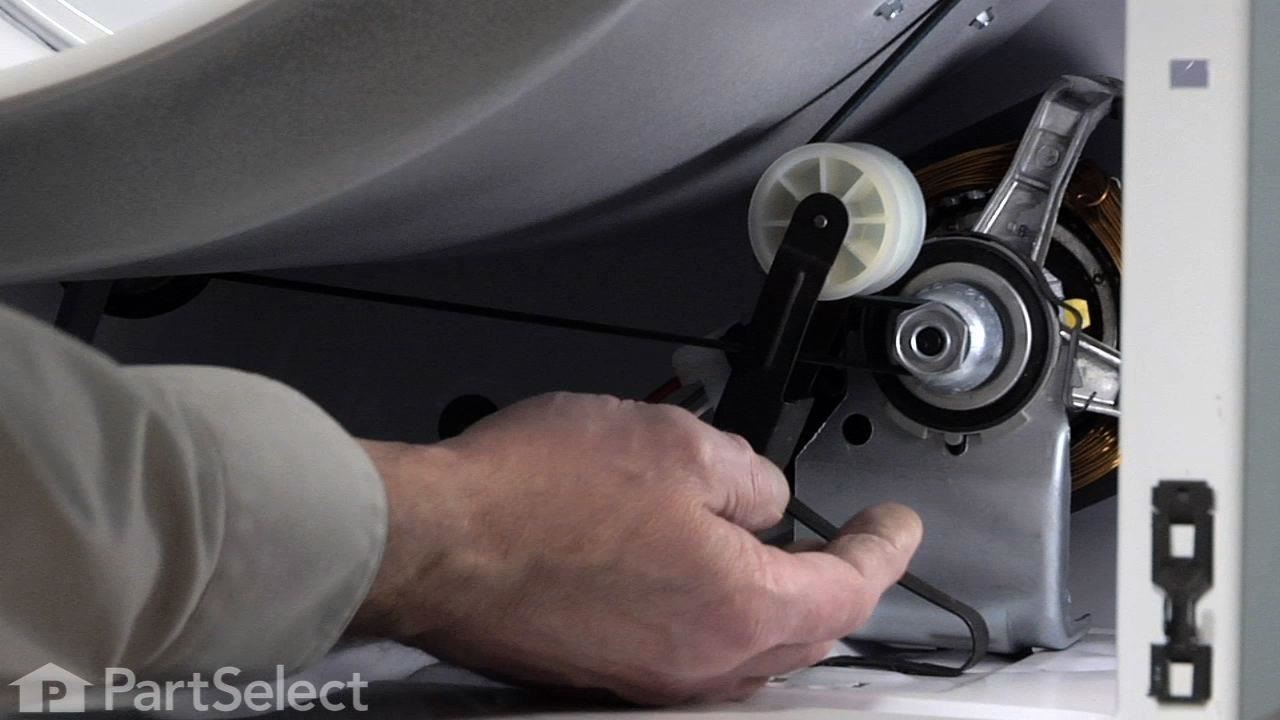
Step 5: Install the New Pulley
Place the idler in the slot while supporting the drum in an upright position with a shoulder or convenient object. Roll the belt over the top of the idler pulley, in through the opening. Next, put some tension on the idler, and then roll the belt onto the motor pulley. To line everything up, rotate the drum at least one full revolution.
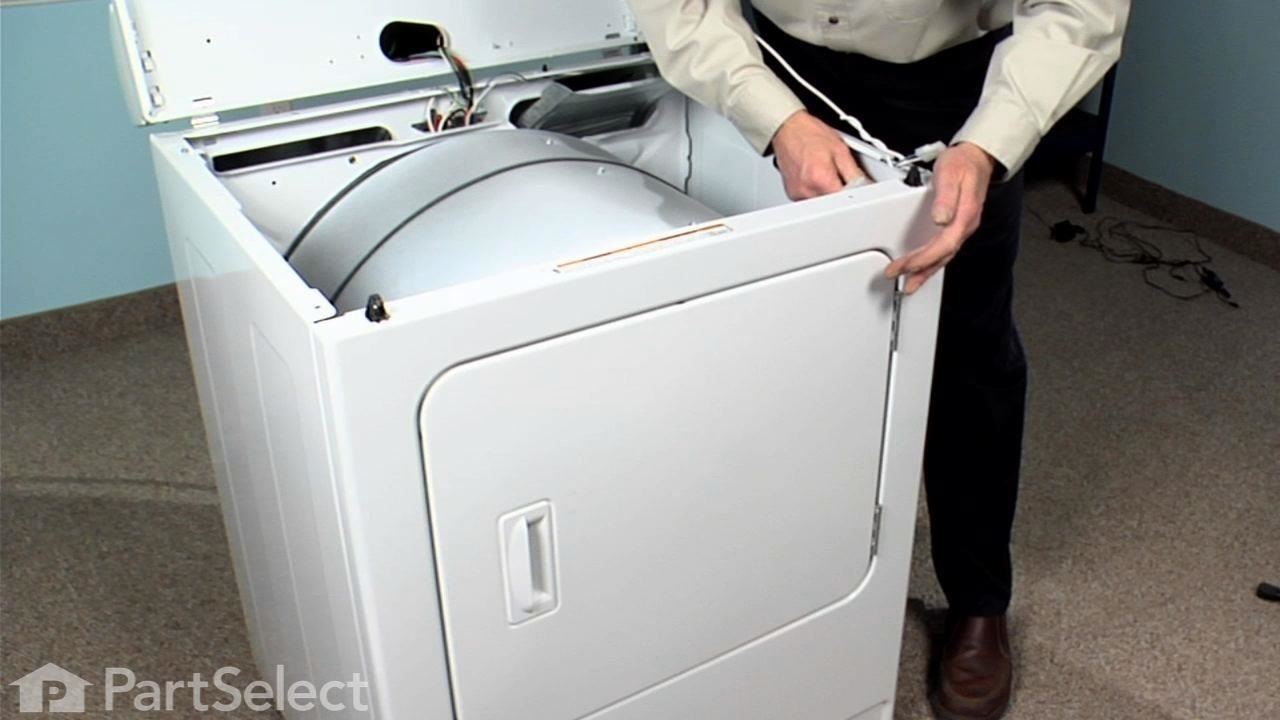
Step 6: Position the Front Panel
Next is the replacement of the front panel. First, engage the slots on the front panel with the hooks on the cabinet flange. There is one on each side. Tuck the front panel in at the bottom while simultaneously raising and tilting back the drum. Lift the front panel until it slides over the hooks and allow it to drop down into place. After the bottom hooks are in place, line up the drum, and press the front panel back into position.
Step 7: Reconnect Wire Harness
Next, replace the two retaining screws, then reconnect the wire harness to the door switch. Then make sure the felt is lying flat on the rear bulkhead of the unit.
Step 8: Reassemble the Dryer's Top
Last, put the top back down. First removing the support device and making sure there are no wire harnesses that can be pinched, line up the top over the retaining clips, and then press down on each corner. Finally, replace the two screws that hold the lint filter in place. Reconnect the power connections, and the dryer is reassembled and ready for use.
Troubleshoot other dryer problems by checking out this site - http://www.partselect.com/
Just updated your iPhone? You'll find new emoji, enhanced security, podcast transcripts, Apple Cash virtual numbers, and other useful features. There are even new additions hidden within Safari. Find out what's new and changed on your iPhone with the iOS 17.4 update.


Be the First to Comment
Share Your Thoughts