
Over time, the dryer belt can become hard and brittle when the drum is turning loud noises such as squeaking, squealing or thumping noises can occur. Replacing the belt is an easy task for the do-it-yourselfer. All that's required is a few simple tools. Here's a step-by-step guide to help you install a new belt in your dryer.
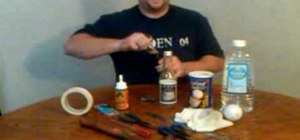
Tools Required for This Repair:
- Putty Knife
- Phillips Screwdriver
- 5/16 inch driver for socket wrench
- Cord, approximately 3 feet in length
Safety Tip:
Before beginning repairs on any electrical appliance, you should ensure that it has been unplugged from its electrical outlet. Failure to do so can result in severe shocks.
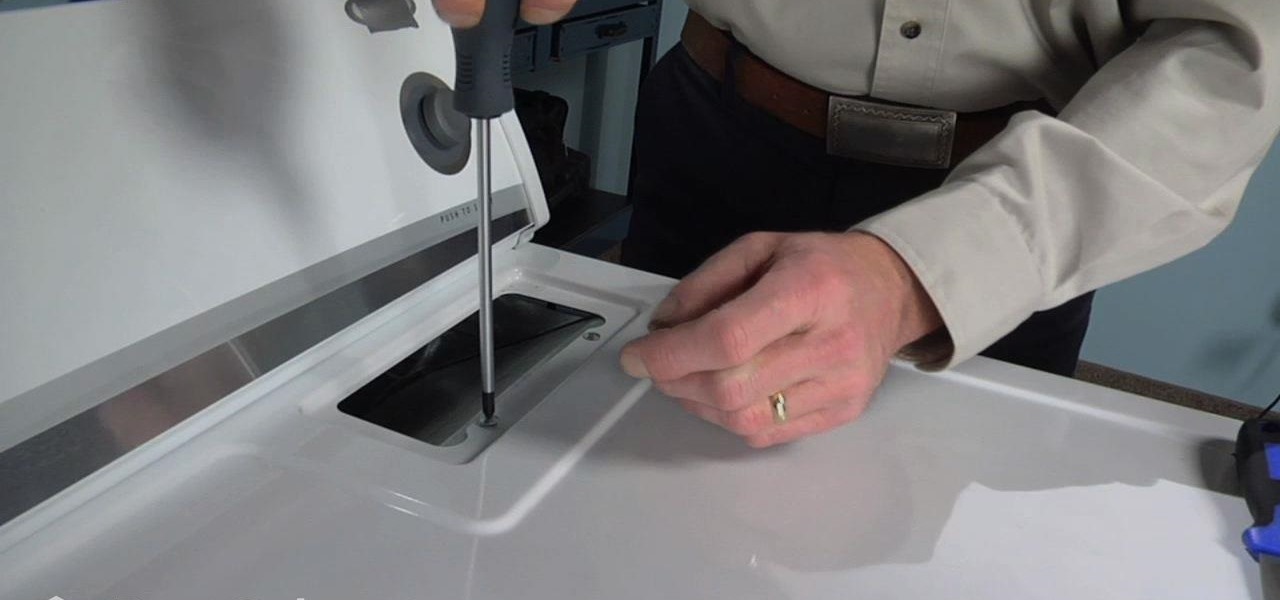
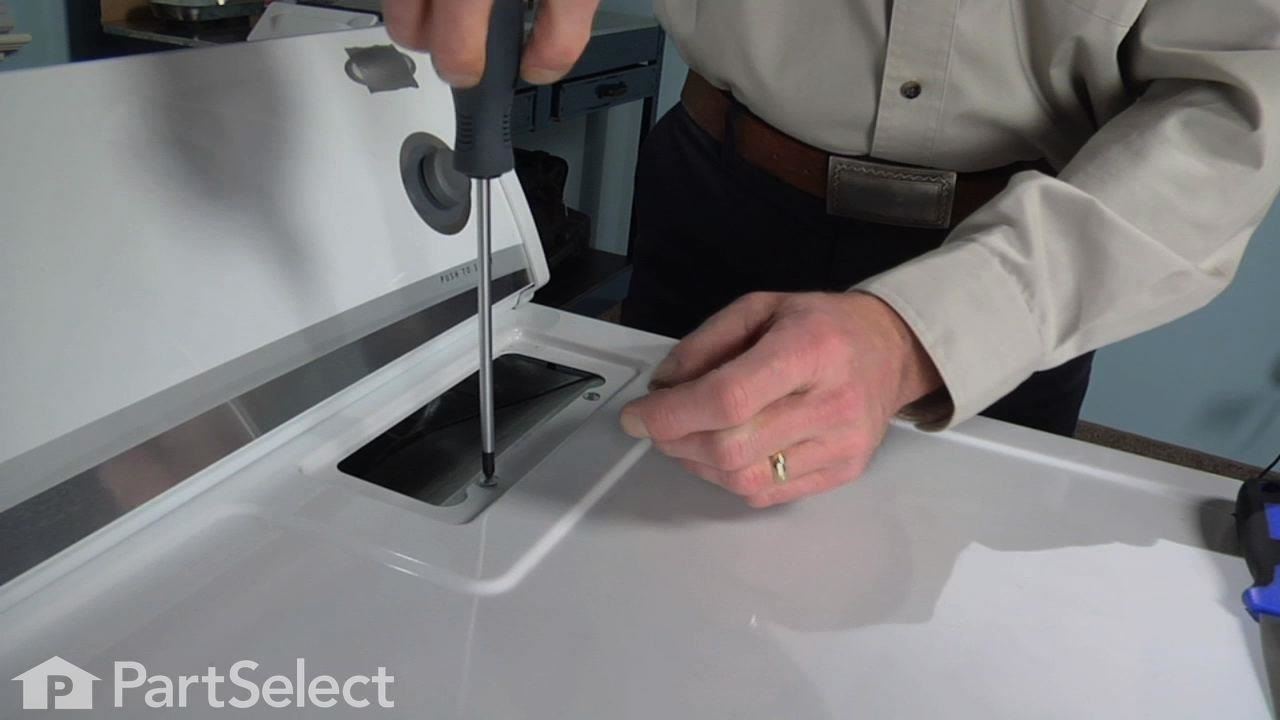
Step 1: Access the Dryer Cabinet
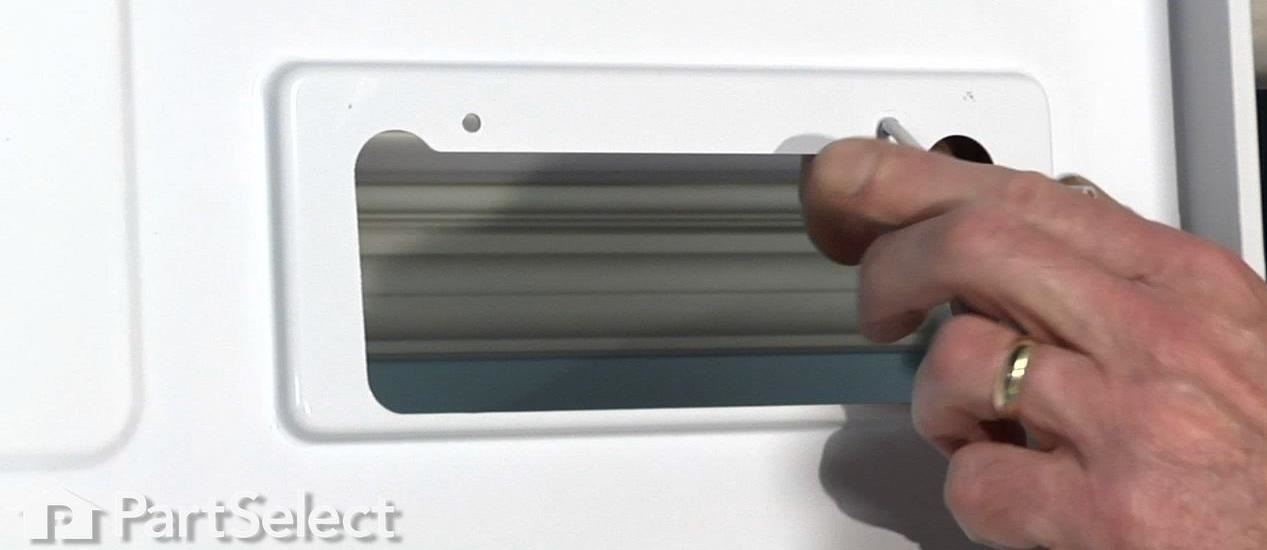
Once your dryer is unplugged, you should remove the lint screen from the top of the unit. Doing so will reveal a cover, secured with both screws and clips, that must be removed to gain access to the belt compartment. First, remove the two Phillips screws and set them aside; then, depress the clips which hold the top cover down: one is located an inch from the right side of the cover, the other an inch from the left. A putty knife can assist you in keeping pressure on the clips while you pull forward on the top of the cover.
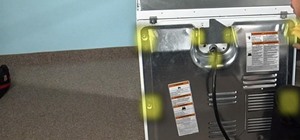
Step 2: Secure the Dryer's Top Cover
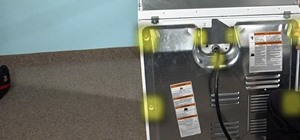
If a wall is nearby, lean the top of the cover against it; if not, thread the cord through one of the screw holes and secure it to the exterior cabinet of the dryer. In either case, the cover must be suspended in an upright position to allow access to the final two screws keeping it attached to the dryer.
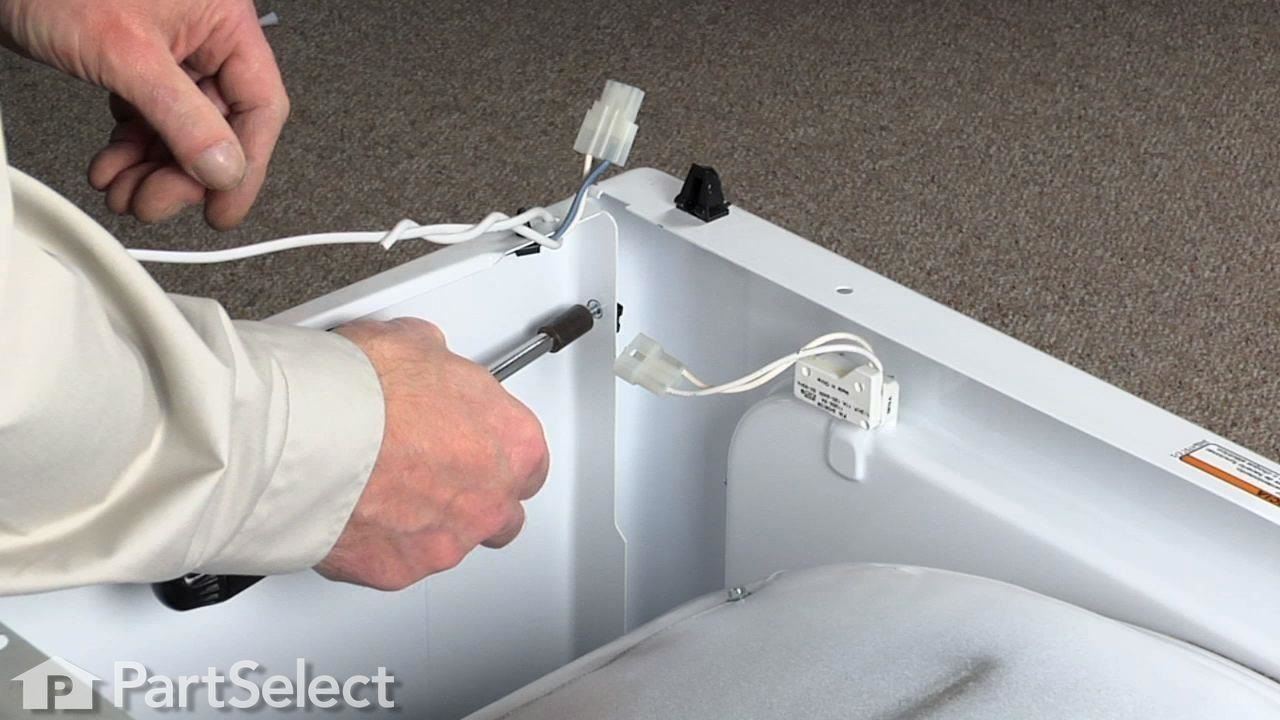
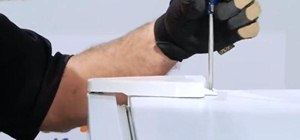
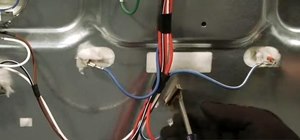
Step 3: Disconnect the Wire Harness
With the top of the cover secured, you can now proceed to disconnect the wire harness attached to the switch. Disengage the locking tabs that secure the harness with the putty knife, but beware that they are often attached tightly. When the harness is disconnected, remove the two 5/16 inch screws from the front panel. Be careful not to drop them inside the unit when you remove them, and be sure to support the cover when you remove the final screw. Remove the front panel completely by lifting forward and up, then set it out of the way.
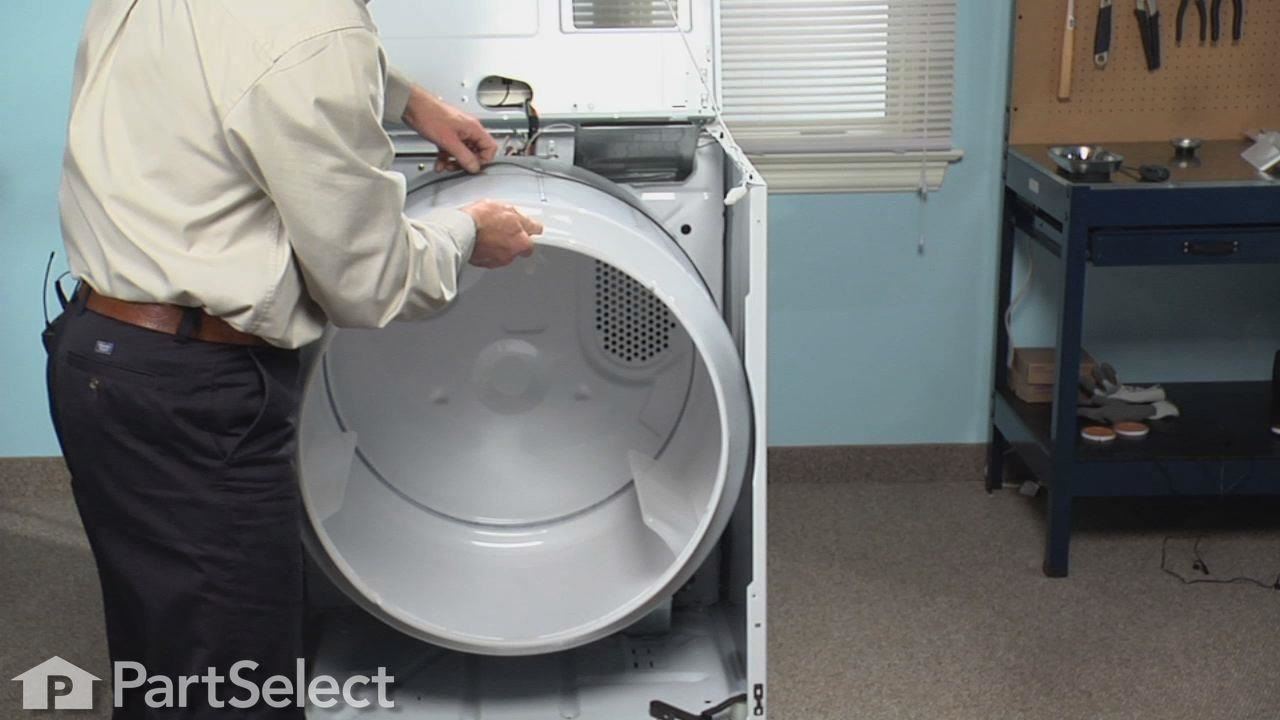
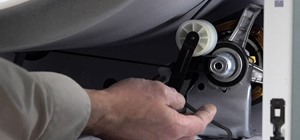
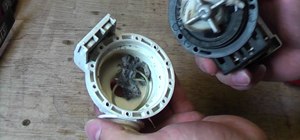
Step 4: Remove the Old Belt
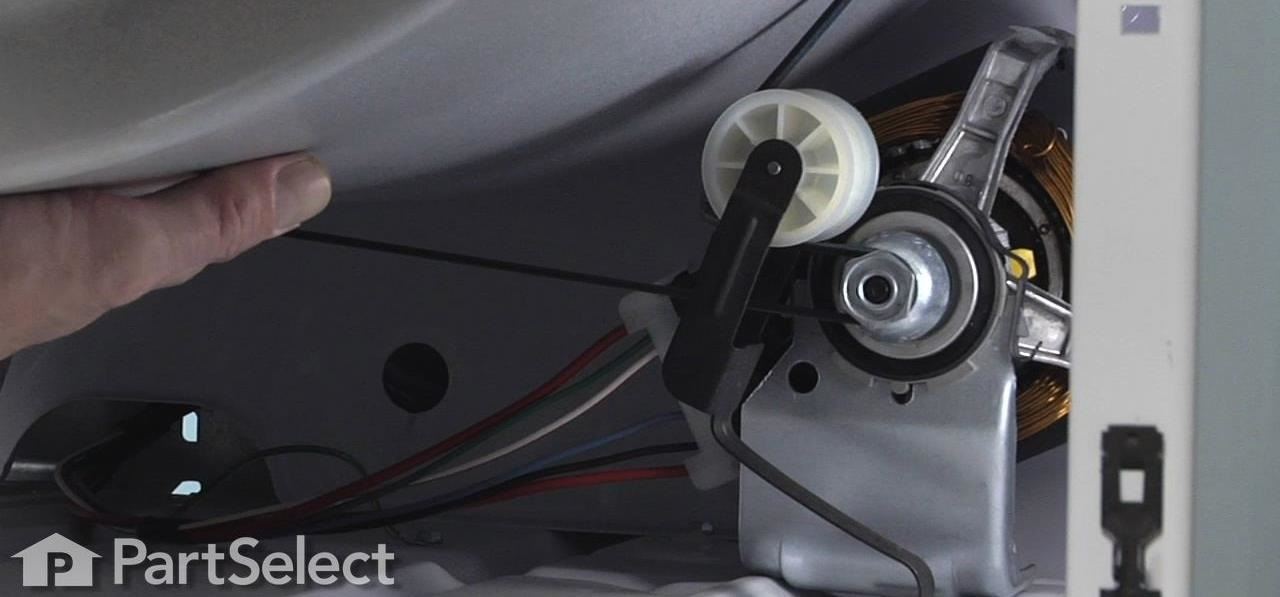
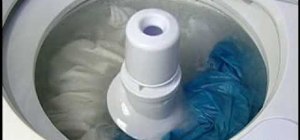
Once the cover is removed, you should have access to the compartment housing the belt, which houses four principal parts: the drum, the idler, the motor, and the belt itself, running between the other parts. You will first need to roll the belt off of the idler to remove the drum. Take special note of how the belt is oriented around the motor pulley and underneath the idler pulley, as you will need to rethread the new belt in precisely the same way. Tip: If you have a camera phone handy, take a picture to use as a reference later.
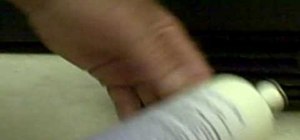
To remove the belt, support the drum with one hand while rolling the belt off of the motor pulley. Slide the belt off of the drum and remove it.
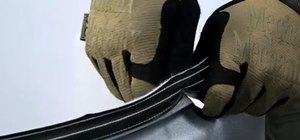
Step 5: Install the New Belt
To install the new belt, drape it around the drum, making sure to keep the ribbed side of the belt against the drum. While supporting the drum in an upright position, roll the belt over the top of the idler, through the opening in it. Proceed to roll the belt onto the motor pulley, increasing the tension on the idler as necessary. When the belt is again attached, rotate the drum one full revolution or more to ensure that all the components are lined up.
Step 6: Re-Attach the Dryer's Cover
After the belt has been replaced, the cover needs to be reattached. To do so, engage the slots on the front panel with the hooks on the cabinet flange; there will be one on either side. Tuck the bottom of the front panel into the compartment while simultaneously raising and tilting back the drum. Lift up on the front panel until it slides over the hooks, then drop the panel into place. With the bottom hooks in place, you can realign the drum and press the front panel back into position.

Step 7: Reattach the Power Cord
Reattach the cord that held the top of the cover in place while you removed it; when it is secured, reconnect the wire harness to the door switch. Before you put the top down, make sure that the felt backing lays flat on the rear bulkhead.
Step 8: Remove the Support Cord for the Dryer
Finally, remove the supporting cord, and place the cover back into its retaining clips. Screw in the final two screws, replace the lint cover, and plug the unit back into the outlet. Your dryer is now repaired. Other help for your dryer is available here: http://www.partselect.com/Repair/Dryer/Noisy/
Just updated your iPhone? You'll find new emoji, enhanced security, podcast transcripts, Apple Cash virtual numbers, and other useful features. There are even new additions hidden within Safari. Find out what's new and changed on your iPhone with the iOS 17.4 update.


Be the First to Comment
Share Your Thoughts